A Service Bus queue provides
a first-in-first-out (FIFO) structure for transmitting messages between one (or
more) message Producers and one or more message receivers.
What follows is a step by
step guide on how to create a queue in Azure, where the following assumptions
are made :-
- You already have a service bus created in the Azure Portal.
- You already have an Access Control Service - ACS (this will be deprecated in 2018 and it is no longer possible to create an ACS in the new Azure portal although you can use an already existing one) or Shared Access Signatures - SAS authentication keys created.
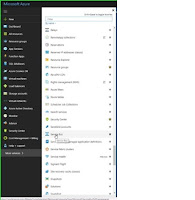
2. Click the Service Bus that you want to attach the queue to from the list
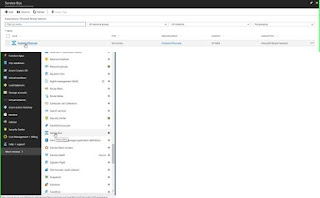
3. This displays the Azure Service bus overview page
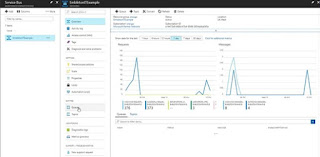
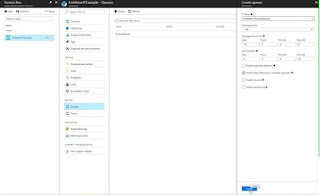
4. Click the Add Queue button in the Queue window
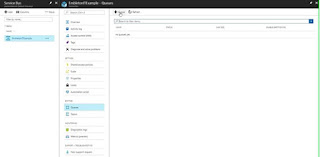
5. Due to incompatibilities with the new partitioning functionality on Azure Service Bus queues and BizTalk 2013 R2 and 2016, you will need to uncheck the Enable Partitioning checkbox in order to avoid transmission errors.
6. After you click the Create button you should see the screen below showing your Queue in an active state.
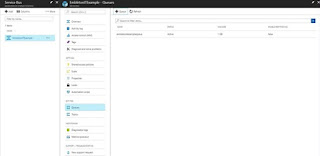

6. After you click the Create button you should see the screen below showing your Queue in an active state.

No comments:
Post a Comment